- Products ProductsLocation Services
Solve complex location problems from geofencing to custom routing
PlatformCloud environments for location-centric solution development, data exchange and visualization
Tracking & PositioningFast and accurate tracking and positioning of people and devices, indoors or outdoors
APIs & SDKsEasy to use, scaleable and flexible tools to get going quickly
Developer EcosystemsAccess Location Services on your favorite developer platform ecosystem
- Documentation
- Pricing
- Resources ResourcesTutorials TutorialsExamples ExamplesBlog & Release Announcements Blog & Release AnnouncementsChangelog ChangelogDeveloper Newsletter Developer NewsletterKnowledge Base Knowledge BaseFeature List Feature ListSupport Plans Support PlansSystem Status System StatusLocation Services Coverage Information Location Services Coverage InformationSample Map Data for Students Sample Map Data for Students
Using the Web Portal for Pipelines
Many pipeline tasks can be executed from the HERE platform portal's GUI. These tasks fall within four categories:
- Pipeline Deployment
- Running a Pipeline
- Monitoring a Pipeline
- Managing Pipelines
Each of these pipeline tasks is examined on the following pages.
Landing Page
You must have HERE platform credentials to use the HERE platform portal. Log in to . You will see the home page shown in Figure 1.
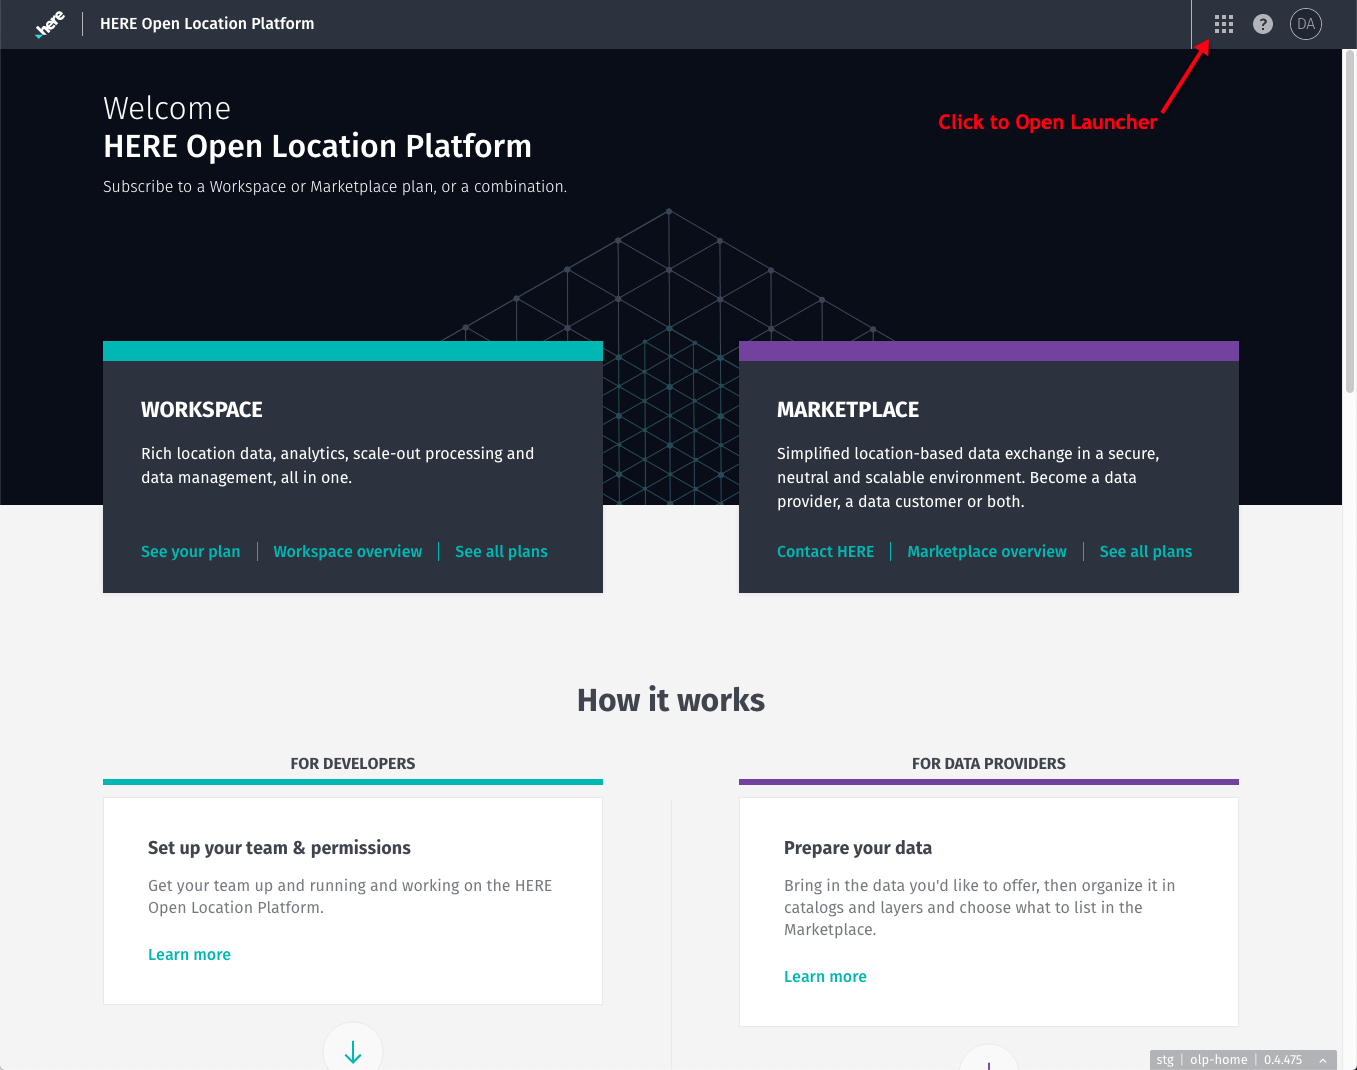
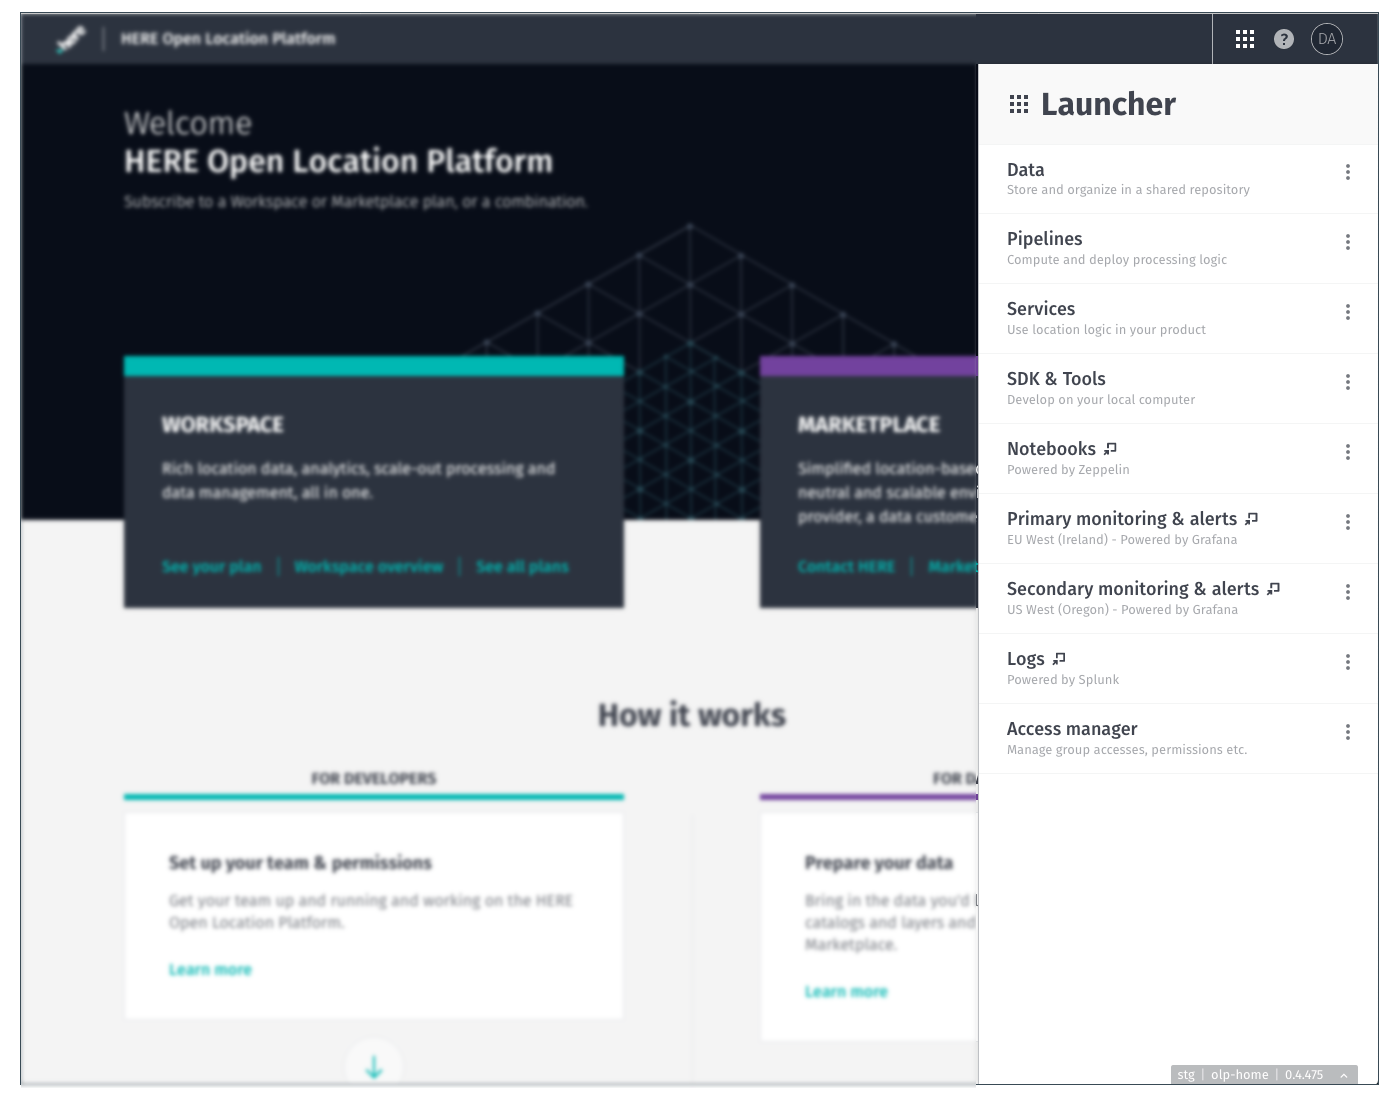
You can follow many functional paths from the landing page. Usually, you will click on the application icon to open the Launcher. This is a menu of the major functional areas of the HERE platform (see Figure 2).
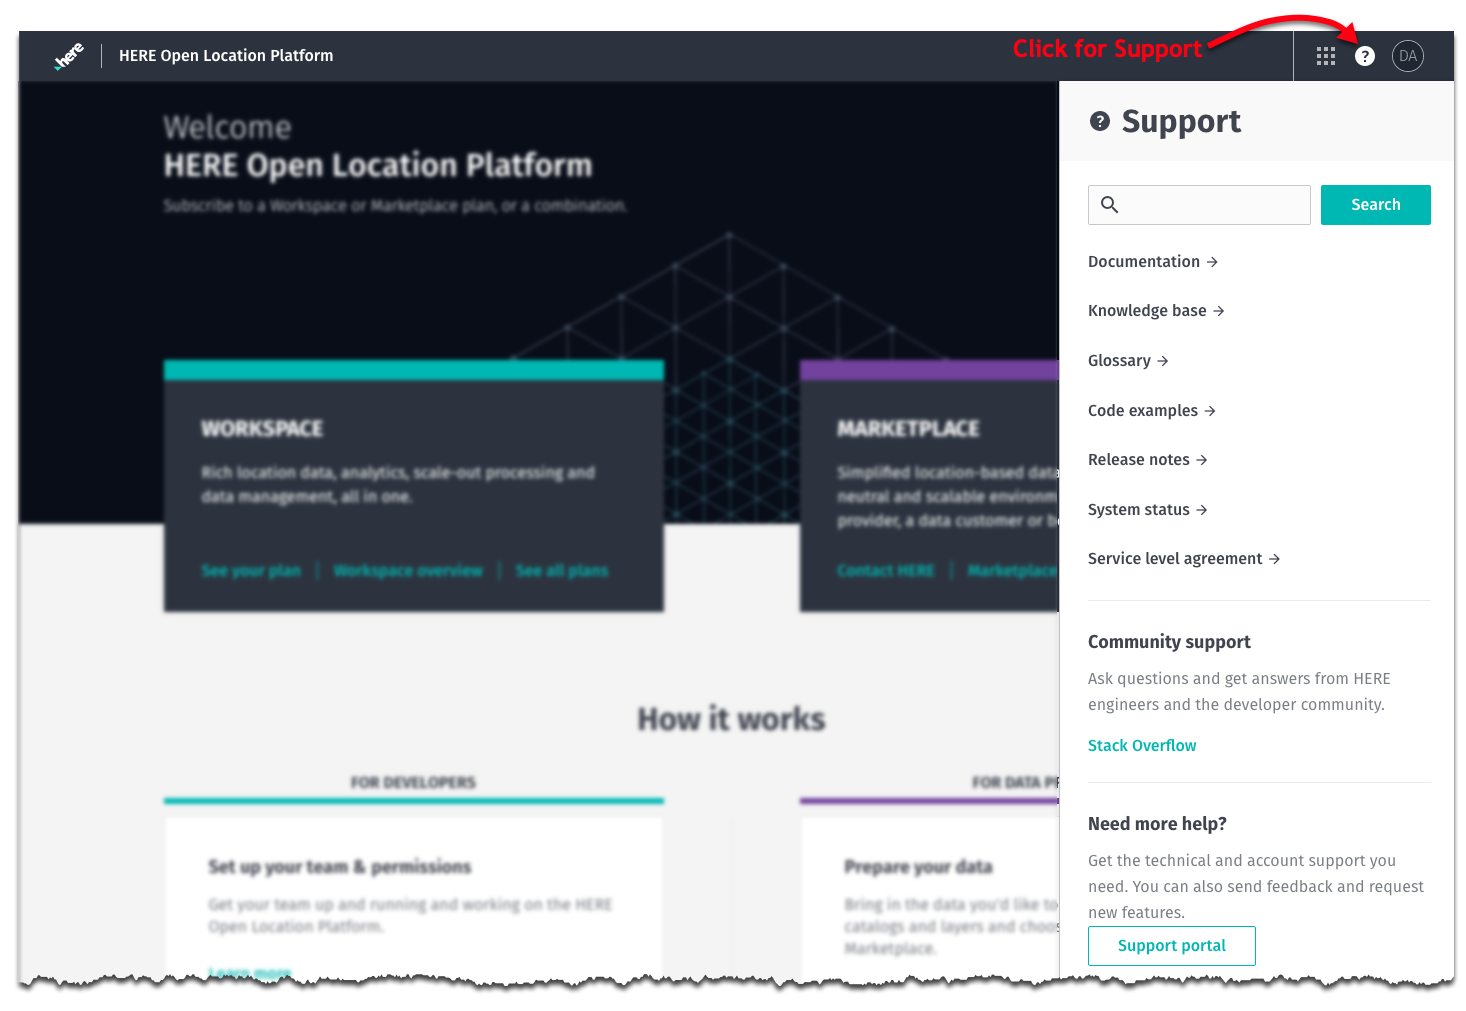
Note: Support
To get information about Support, including access to Documentation, Code Examples and the current system status, click on the support icon to open the support menu, as shown here.
Click on the Pipelines menu item in the Launcher and you will find yourself on the opening landing page for pipelines.
New User Navigation Options
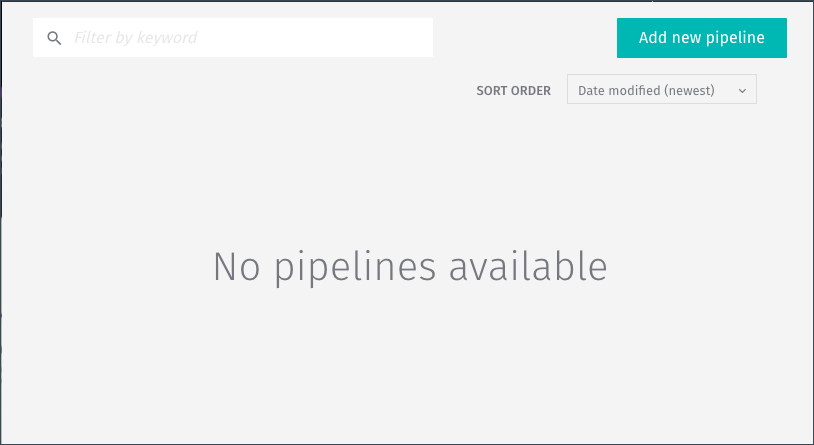
If you are a new user to the HERE platform or you are starting a new group, click on the Pipelines menu item in the Launcher to display where your deployed pipelines would be listed (see Figure 3). If there are no deployed pipelines listed, you may Add new pipeline. Click this button to open the dialog shown in Figure 4.
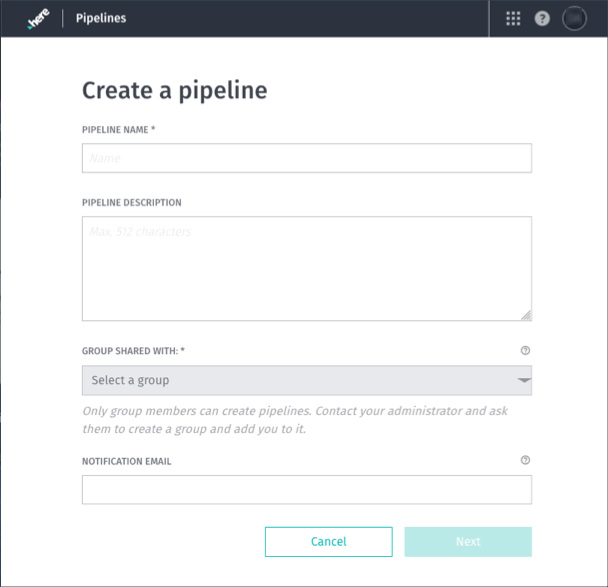
The Pipeline Name should be meaningful to you because, in most cases, this is how you will recognize your pipeline. The description is optional, but you are advised to include enough information here so that the purpose of this pipeline deployment is understood by someone else who encounters it. Your Group name is important because this establishes the group ownership of the deployed pipeline for security purposes. And the Notification Email is used to send any notices to you or your team when something goes wrong with the system. It is suggested that you use a team email address so that email notifications are not overlooked because someone is out of the office for some reason.
Caution: Creation vs. Deployment
Because the dialog box in Figure 4 is titled "Create a pipeline," you might think that this is the first step to creating a new pipeline application. That is not the case. This is simply the first step in deploying a pipeline that has already been "created." The deployment process is explained in detail in Pipeline Lifecycle.
Returning User Navigational Options
If you already have deployed pipelines, the Pipelines screen will list all of the pipelines you have deployed. You can select any of the pipelines in the list by clicking on the name of that pipeline. This will present you with many potential actions to select from. Or, you can deploy a new pipeline by clicking the Add new pipeline button at the top right corner of the page, which opens the dialog shown in Figure 4.
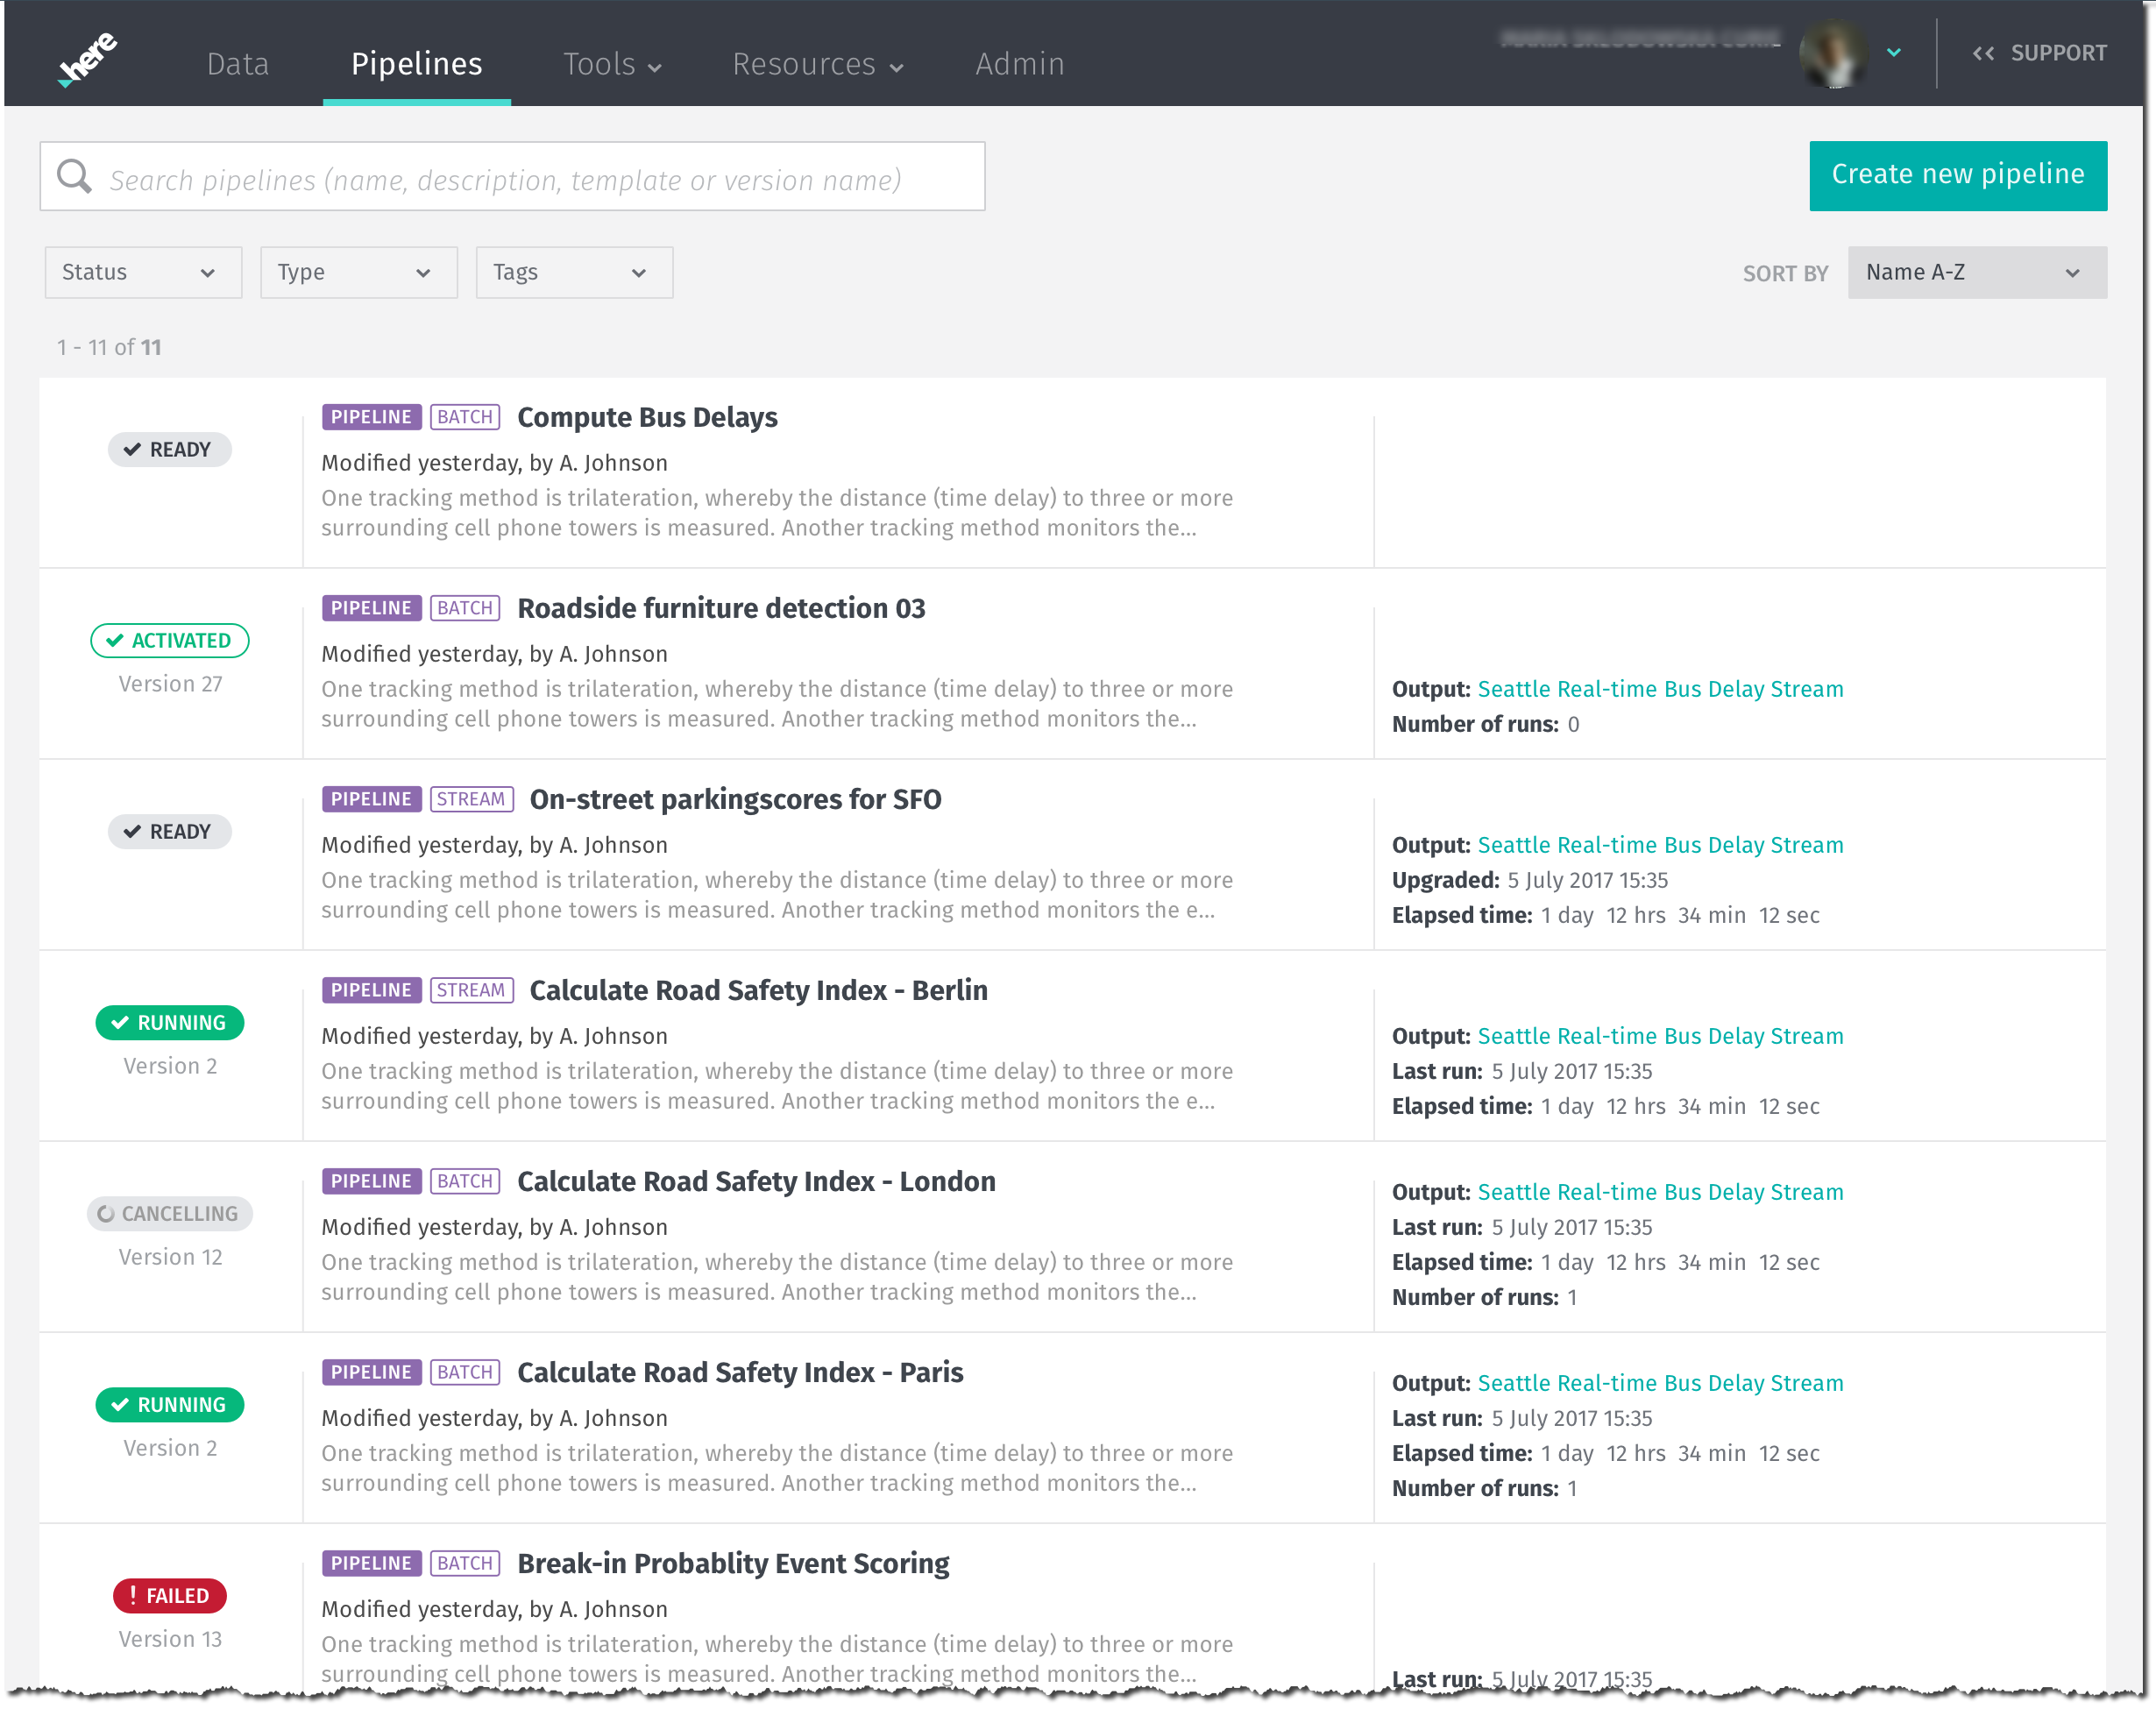
If you look at any pipeline on your list, Figure 5 shows you the kind of information available.

Click on the listing (as shown above) to display a detail page where you can manipulate the pipeline. This is discussed in detail in Running a Pipeline.
Managing Pipeline Listings
Your list of pipelines can get to be quite long. To easily locate a specific pipeline, you have three functions available for controlling the listing: sorting, filtering and searching.
Sorting
Sorting is done based on either Pipeline Name or Date.
Filtering
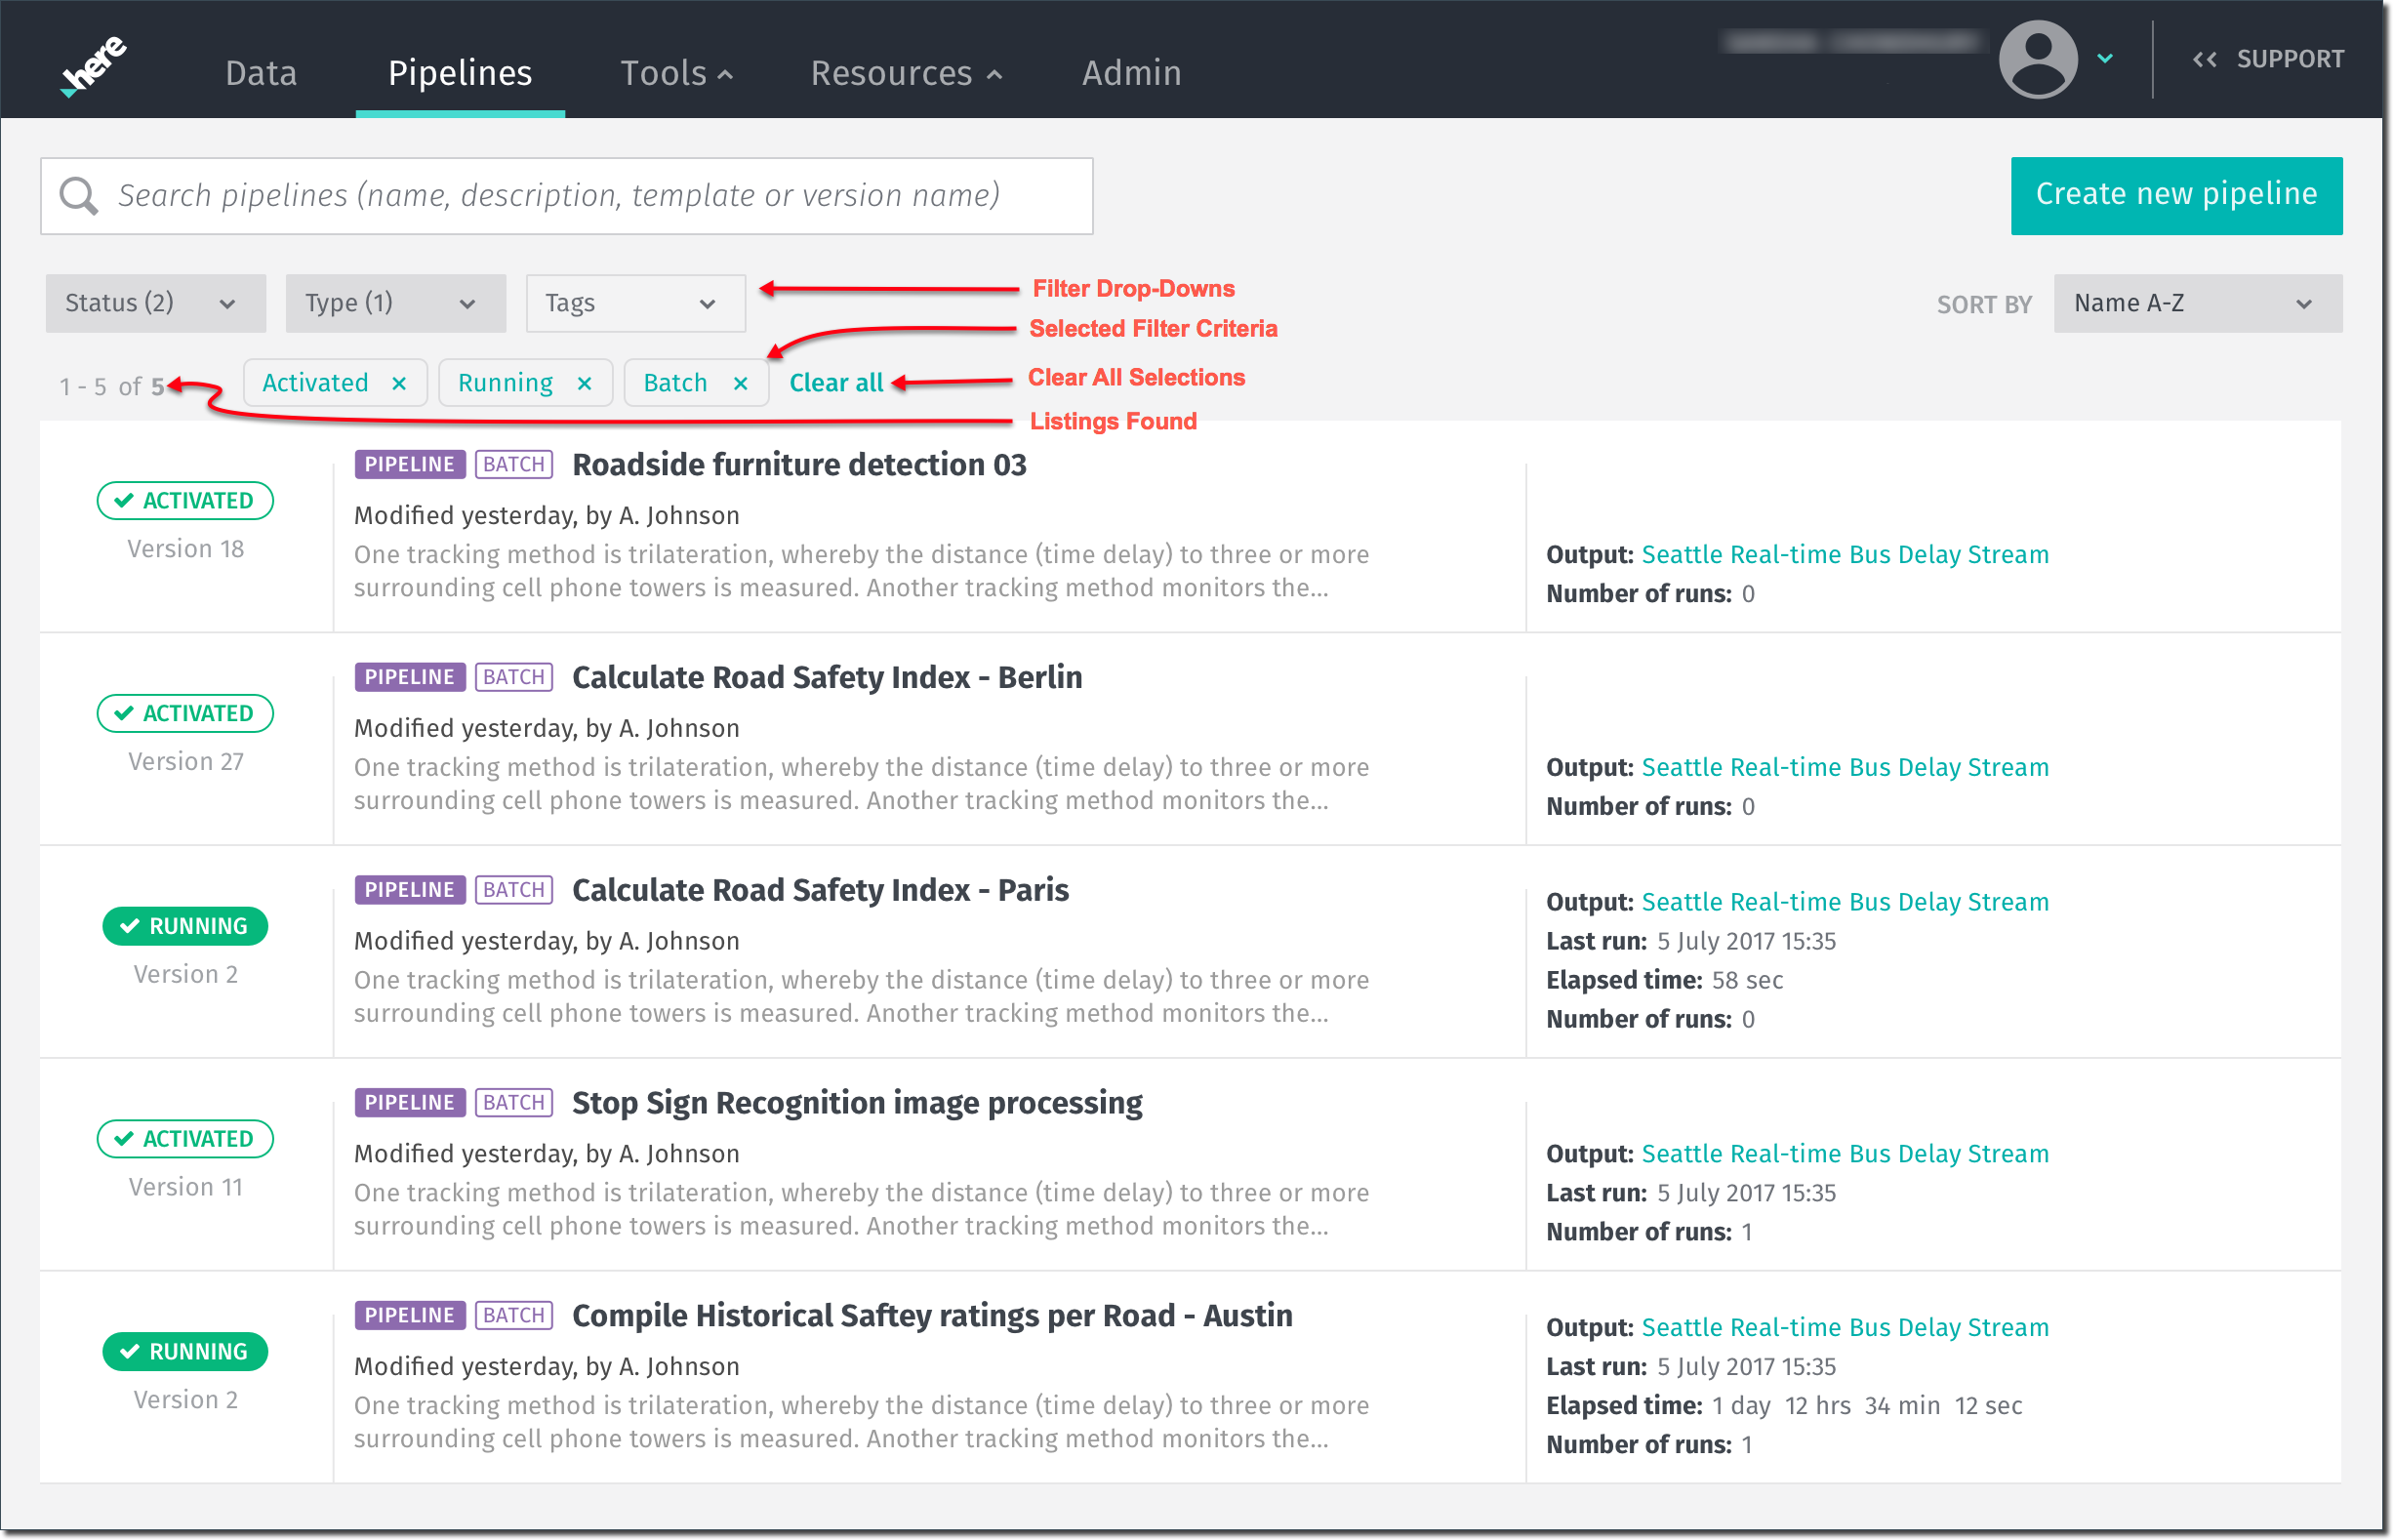
Filtering is done by selecting filtering criteria to be applied to the list. Choose one or more of the drop-downs and select the desired filtering parameters. There are three categories of filtering parameters:
- Pipeline Status
- Pipeline Type
- Tags
Filtering is done automatically as each criteria is selected. Individual parameters can be deleted by clicking the "X" beside the parameter name. Or use the Clear All button to dismiss all parameters and start over.
Searching
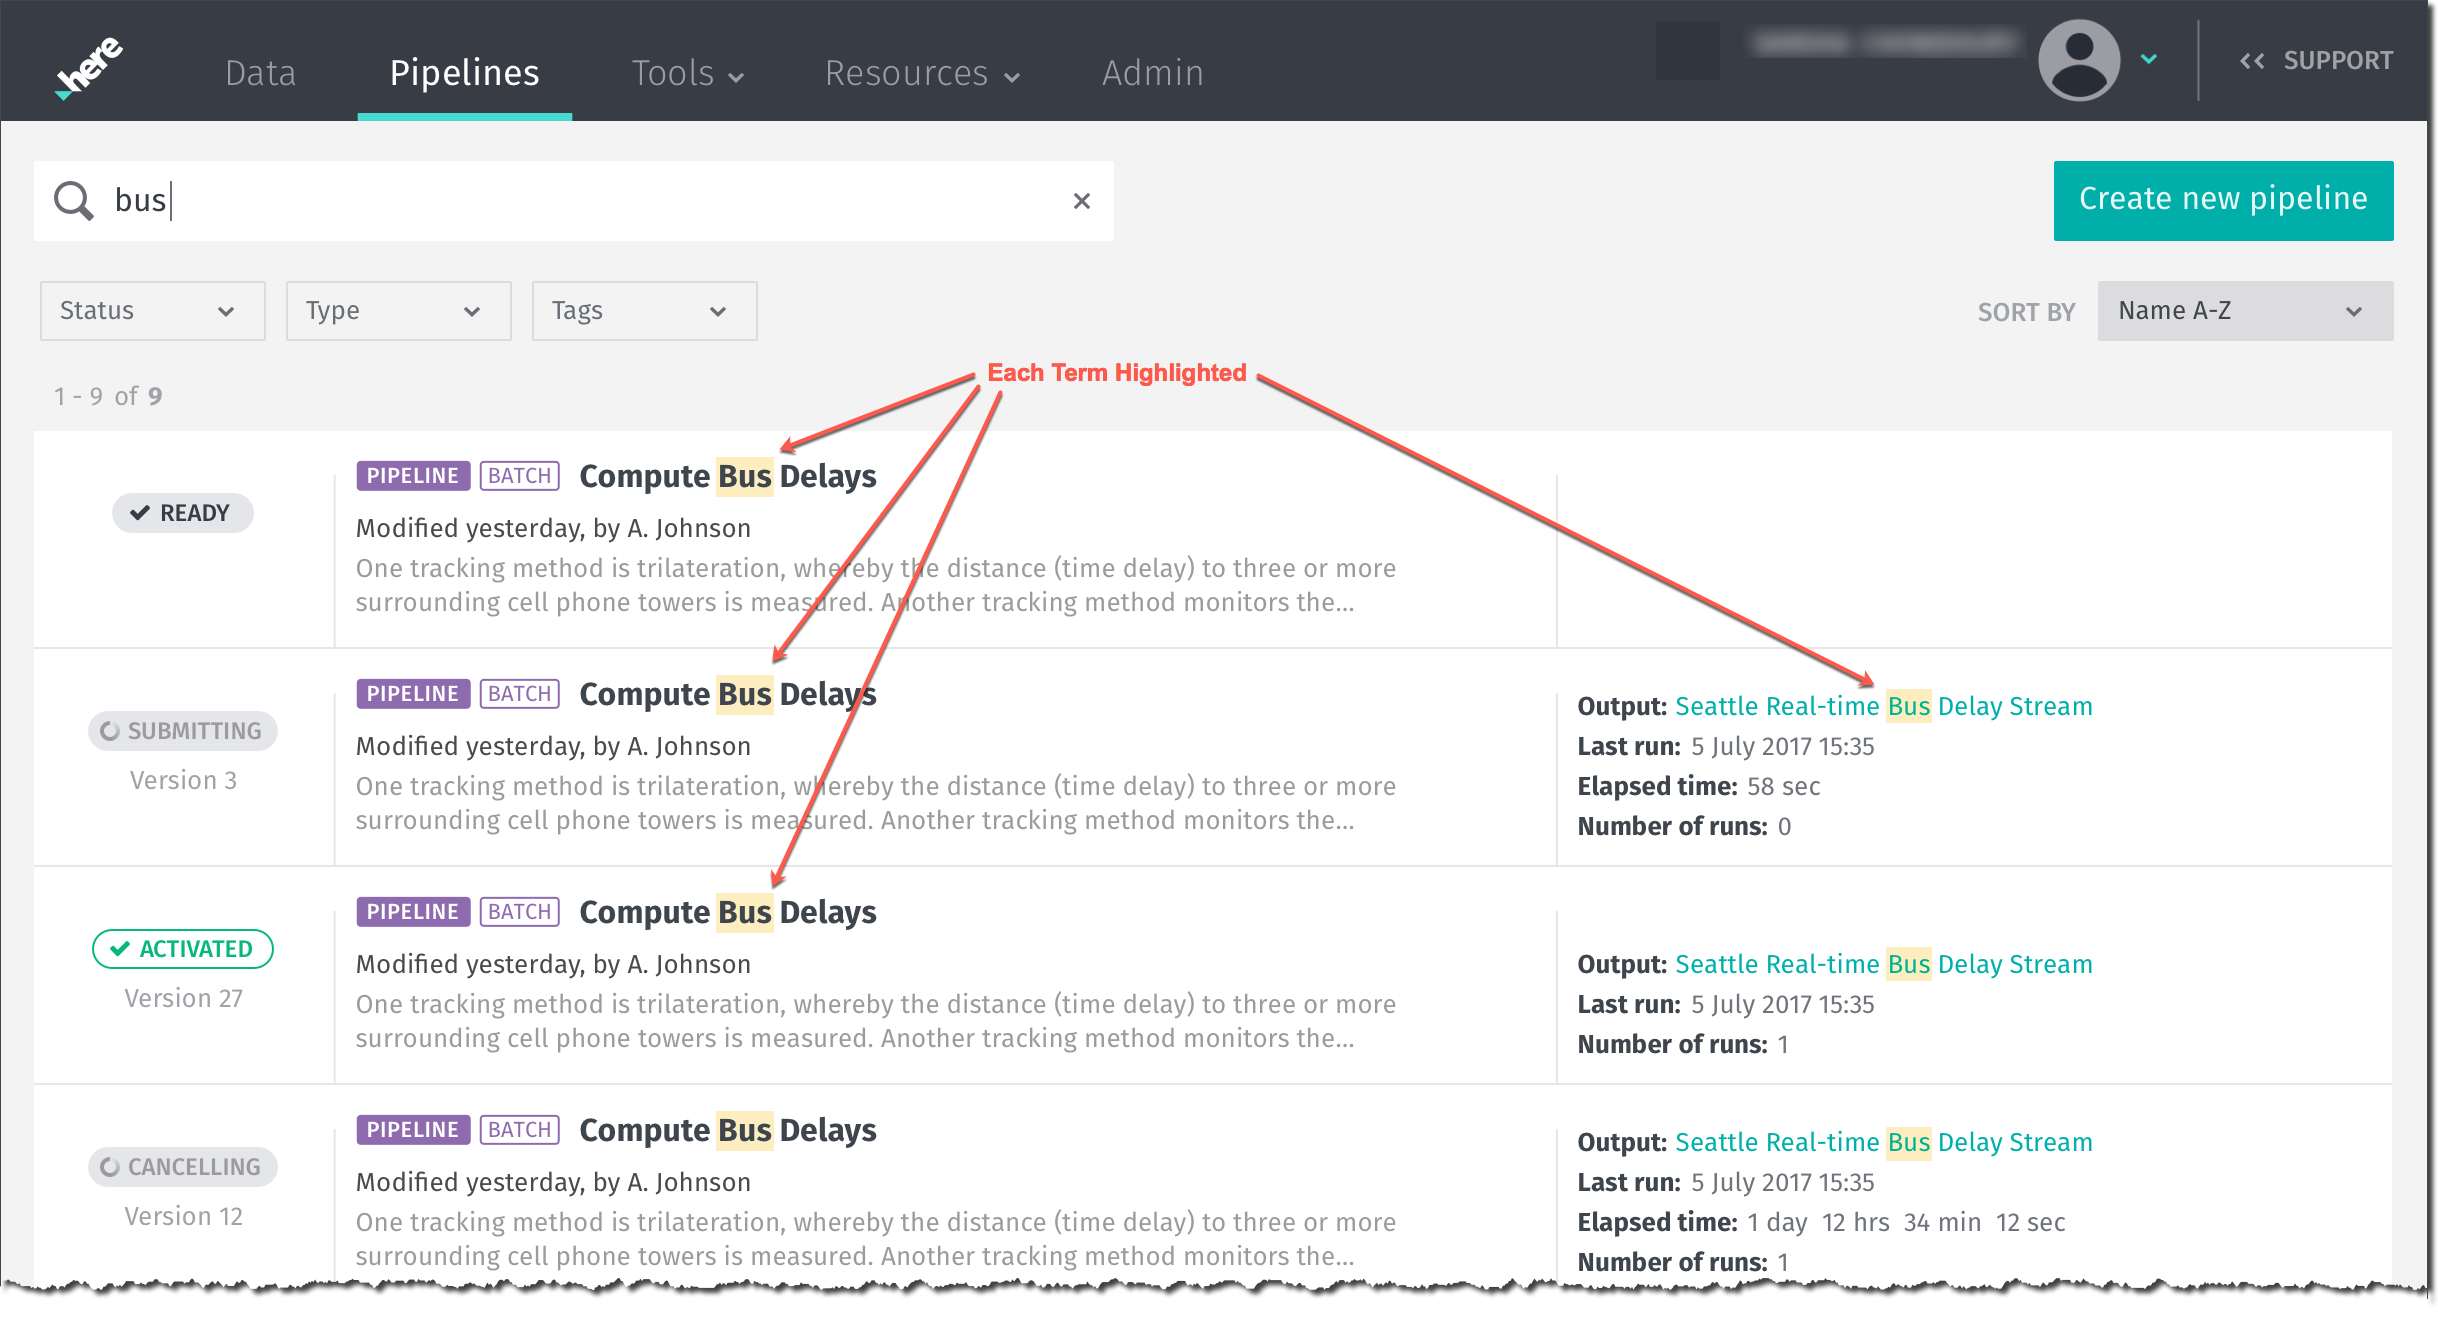
Enter specific search terms in the search field. Click the "X" at the right side of the search field to clear the search entry and start a new search. Press Return to initiate the search.
User Details
You may notice that there is a small box that appears at the lower right corner of the platform portal screen as shown below.
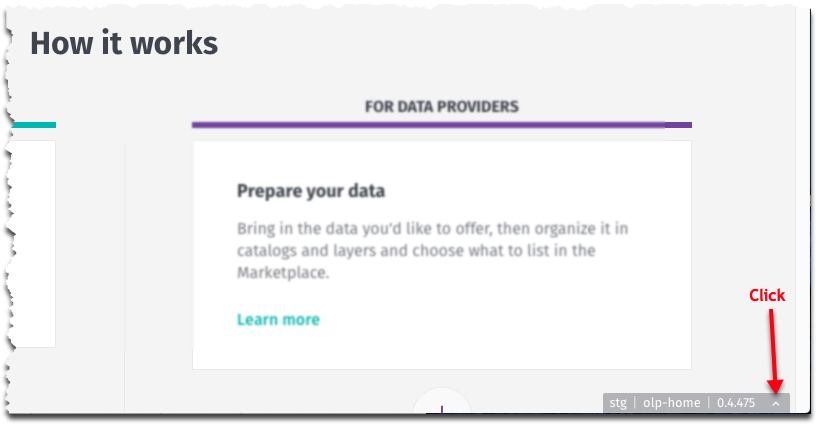
Click on the caret icon to open the user detail block and display the logged in user's identifying details. Information includes the user's email address, HERE ID, Access Token, and Rhelm.
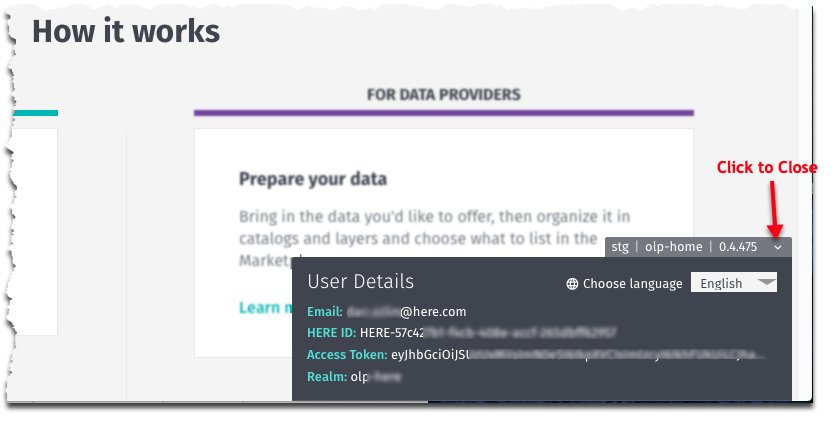
Click the caret icon again to close the User Detail Block.